How to Accept Bitcoin on WooCommerce in Under 15 Minutes If you run a WooCommerce store and want to accept Bitcoin (and other crypto) without rebuilding checkout, you do not need a custom integration. With a ready plugin, hosted checkout, and signed webhooks, you can go from upload to a live test payment in about a quarter of an hour.
This guide walks through the official Cryptomo WooCommerce setup: install the zip, wire API credentials, register the webhook, send a test event, then place a real (or sandbox-style) order. Along the way you will see how order statuses map when a buyer underpays, overpays, or lets an invoice expire.
Why Bitcoin (and crypto) on WooCommerce still makes sense Card rails work well for many buyers, but they come with chargebacks, regional declines, and fees that climb with volume. Crypto payments settle on-chain: once an invoice is marked paid, you are not waiting on a 30-day dispute window the way you often are with cards.
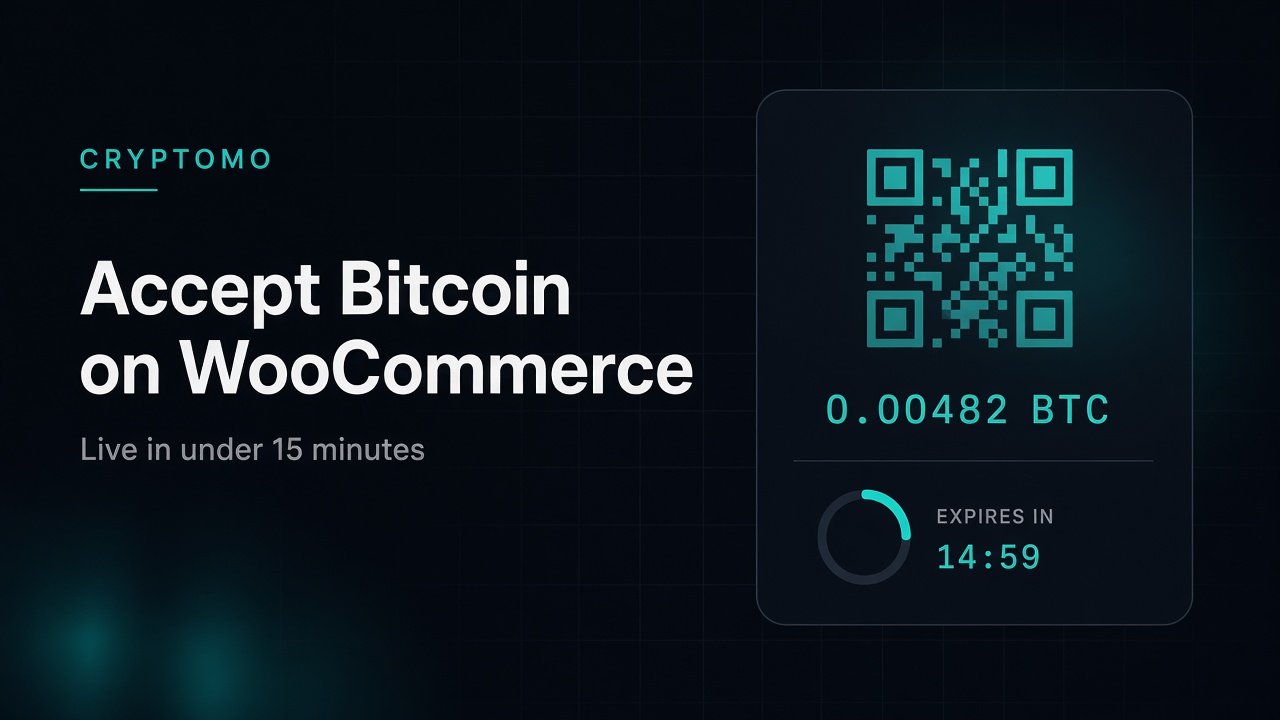
For merchants selling digital goods, SaaS, domains, or cross-border physical products, Bitcoin and stablecoins also open wallets that never touch a local bank. Cryptomo’s hosted checkout shows a QR code, an exact amount, and a countdown with a locked rate—so the buyer knows precisely what to send before the timer ends.
You can price the cart in USD, EUR, INR, or other supported fiat currencies; the customer pays in BTC, USDT, ETH, or another coin your store enables.
What you need before you start WordPress 6.0+, WooCommerce 7.0+, PHP 7.4+ A Cryptomo account with at least one approved store and an API key Admin access to your WordPress dashboard About 15 minutes of uninterrupted time Optional but useful: a small amount of test crypto (or a low-value live invoice) so you can watch a real status transition from waiting to paid.
Step 1: Download and upload the plugin (≈3 minutes) Download the official zip: cryptomo-for-woocommerce.zip In WordPress go to Plugins → Add New → Upload Plugin Choose the zip, click Install Now, then Activate The plugin supports classic checkout and block checkout, and it is compatible with WooCommerce High-Performance Order Storage (HPOS). You do not need a separate “blocks-only” build.
Full product details and the same five setup steps live on the WooCommerce plugin page.
Step 2: Open Cryptomo payment settings in WooCommerce (≈1 minute) Go to WooCommerce → Settings → Payments → Cryptomo. Enable the gateway and leave the title something clear for buyers (for example “Pay with crypto” or “Bitcoin & USDT”).
You will see fields for:
Cryptomo base / API URL Public key Secret key Webhook secret Keep this tab open; you will paste values from the Cryptomo dashboard next.
Step 3: Copy credentials from your Cryptomo store (≈3 minutes) In the Cryptomo dashboard, open your store:
Note the API base URL used by the platform (https://cryptomo.net/api/v1 for the REST API; the plugin settings typically want the site URL your store docs specify—use the values shown in Dashboard → Stores → your store) Create or open an API key: copy the public key and the secret key (the secret is shown once—store it in a password manager) Copy the webhook secret for that store Paste URL, public key, secret key, and webhook secret into WooCommerce → Cryptomo settings, then save.
Treat the secret key and webhook secret like production database passwords: never commit them to git, never put them in front-end JavaScript, and rotate them if a team member leaves.
Step 4: Point Cryptomo’s webhook at the plugin (≈2 minutes) Still in WooCommerce Cryptomo settings, copy the plugin webhook URL shown on the page. Paste that URL into your Cryptomo store’s Webhook URL field and save.
This is the bridge that marks WooCommerce orders paid automatically. Cryptomo will POST signed events such as invoice.paid to that URL. The plugin verifies the signature, then updates the order.
Without this step, invoices can pay on Cryptomo’s side while WooCommerce stays unpaid—so double-check the URL before you take live traffic.
Step 5: Send a test webhook (≈2 minutes) In the Cryptomo dashboard, use Send test webhook. Confirm WordPress receives it (plugin logs or a success notice on the Cryptomo side). If the test fails:
Re-check the webhook URL (https, no trailing typo) Confirm the webhook secret matches exactly Temporarily disable aggressive WAF/firewall rules that block POSTs to /wp-json/ or the plugin’s endpoint path Once the test passes, you are ready for a real checkout.
Place a test order and watch the statuses Create a cheap product (or use an existing one), add it to the cart, and choose Cryptomo at checkout. You will be redirected to hosted checkout:
Pick a coin (Bitcoin, USDT, Ethereum, and more) See the exact amount and a countdown with the rate locked for that window Scan the QR or copy the address from a wallet After confirmation, Cryptomo notifies the plugin. Typical merchant-facing behaviour:
Cryptomo outcome WooCommerce behaviour (plugin) Paid in full Order marked paid / processing Partial payment Order put on hold Invoice expired unpaid Unpaid order cancelled Invoice statuses on the API side include new, waiting, partially_paid, paid, paid_over, and related late/expired states. For fulfilment, treat paid, paid_over, and paid_late as paid (still verify idempotently). Details are in the Cryptomo docs.
Practical tips for your first live Bitcoin sale Start with one enabled coin. Bitcoin is fine for a launch; add USDT (TRC20) later if you want lower network fees for smaller carts.
Explain the countdown. Buyers sometimes open a slow wallet. A short FAQ (“send the exact amount before the timer ends”) cuts support tickets.
Price in your operating currency. If you think in INR or EUR, set store prices that way; Cryptomo converts at checkout so the customer still pays on-chain.
Monitor underpayments. Partial payments put the order on hold—follow up with the remaining amount or a new invoice rather than shipping early.
Security hygiene. Enable 2FA on Cryptomo, keep WordPress and WooCommerce updated, and restrict who can see API secrets.
Beyond the plugin: when to use the API The WooCommerce plugin covers most stores. If you later need custom order flows, subscription billing, or a headless front end, the same account exposes a REST API (HMAC-signed), a PHP SDK, and a JS pay button. Integrations also exist for EDD, WHMCS, PrestaShop, OpenCart, Magento 2, Shopify, Blesta, and ClientExec—so you are not locked into one cart forever.
Soft next step If you want Bitcoin (and multi-coin) checkout on WooCommerce without writing webhook code yourself, install the official plugin, connect your store keys, and send that test webhook today. The WooCommerce setup page mirrors these five steps, and registration is free on Starter so you can validate the flow before you scale.
Fifteen minutes of careful setup beats weeks of half-finished custom payment code—and your next order can settle in crypto while the rest of your stack stays familiar WooCommerce.