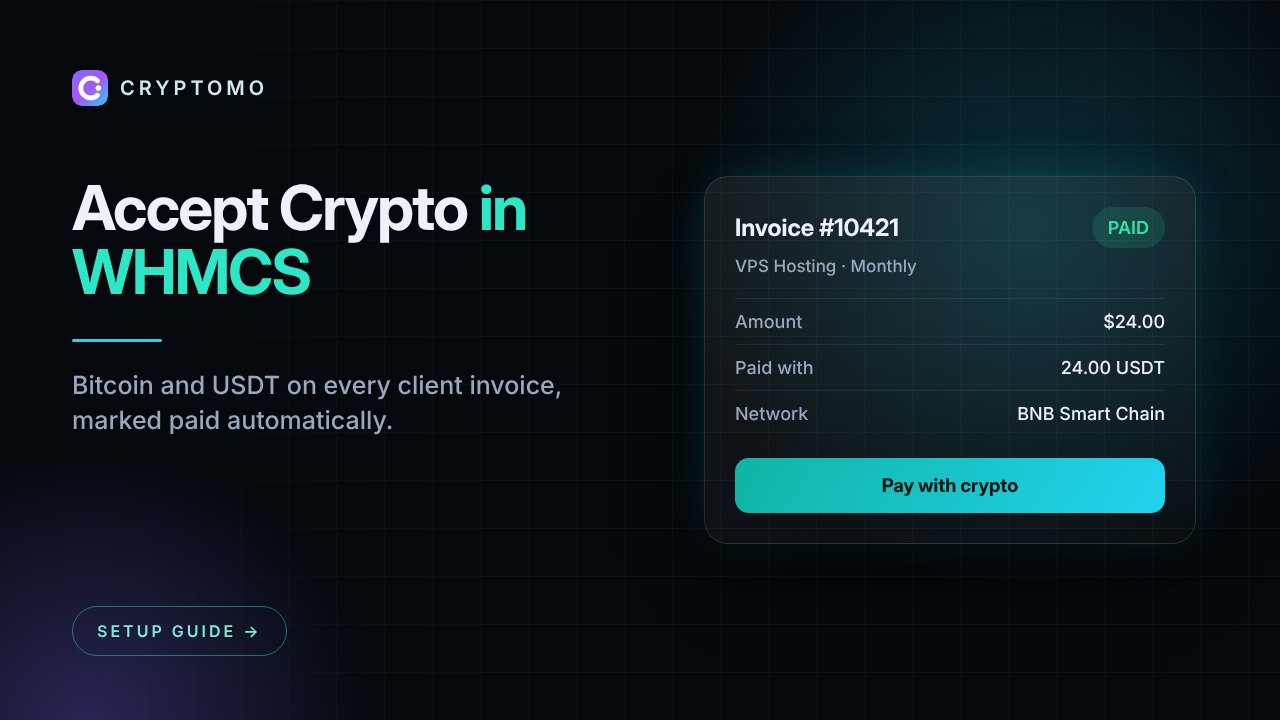
Hosting companies, VPS providers and domain resellers were some of the first businesses to accept crypto, and for good reason: their customers are global, technical and often unable to pay by card from their country. If you run WHMCS, you can add crypto as a payment method in a few minutes with the official Cryptomo gateway module.
What you get
- A "Pay with crypto" button on every WHMCS invoice
- Hosted checkout with Bitcoin, USDT, USDC, Ethereum, Solana, TON and more
- Invoices marked paid automatically through a signed webhook
- Every payment re-checked with the Cryptomo API before WHMCS records it, and duplicates ignored
- Support for your WHMCS currencies (USD, EUR, INR and others), converted at checkout
Requirements
- WHMCS 8.x with admin access
- FTP, SFTP or file manager access to your WHMCS folder
- A Cryptomo account with an approved store and an API key (create one free)
Step 1: Upload the module
Download cryptomo-whmcs.zip and upload the modules folder into your WHMCS root folder. It merges with the existing folder and adds:
modules/gateways/cryptomo.php
modules/gateways/cryptomo/Client.php
modules/gateways/callback/cryptomo.php
Step 2: Activate the gateway
In the WHMCS admin, go to Configuration → System Settings → Payment Gateways → All Payment Gateways and click Cryptomo.
Step 3: Enter your Cryptomo credentials
In the Cryptomo dashboard, open Stores → your store and create an API key. In WHMCS, fill in:
| WHMCS field | Value |
|---|---|
| Cryptomo URL | https://cryptomo.net |
| Public key | Starts with pk_ |
| Secret key | Starts with sk_ (shown once when you create the key) |
| Webhook secret | Starts with whsec_ |
| Button text | For example "Pay with crypto" |
Step 4: Set the webhook URL
In your Cryptomo store settings, set the Webhook URL to:
https://YOUR-WHMCS-DOMAIN/modules/gateways/callback/cryptomo.phpThen click Send test webhook to make sure WHMCS can receive it.
Step 5: Check your currencies
Make sure your Cryptomo store accepts the currencies your WHMCS invoices use. If you bill in INR and USD, both should be enabled.
Step 6: Make a test payment
Create a small invoice for a test client, click Pay with crypto, pay with a low-fee coin such as USDT on Solana or BNB Chain, and watch the invoice change to Paid in WHMCS.
Tips for hosting businesses
- Recurring services: WHMCS generates renewal invoices as usual; clients pay each one with crypto.
- Add funds: crypto works well for prepaid credit, which avoids paying network fees on every small invoice.
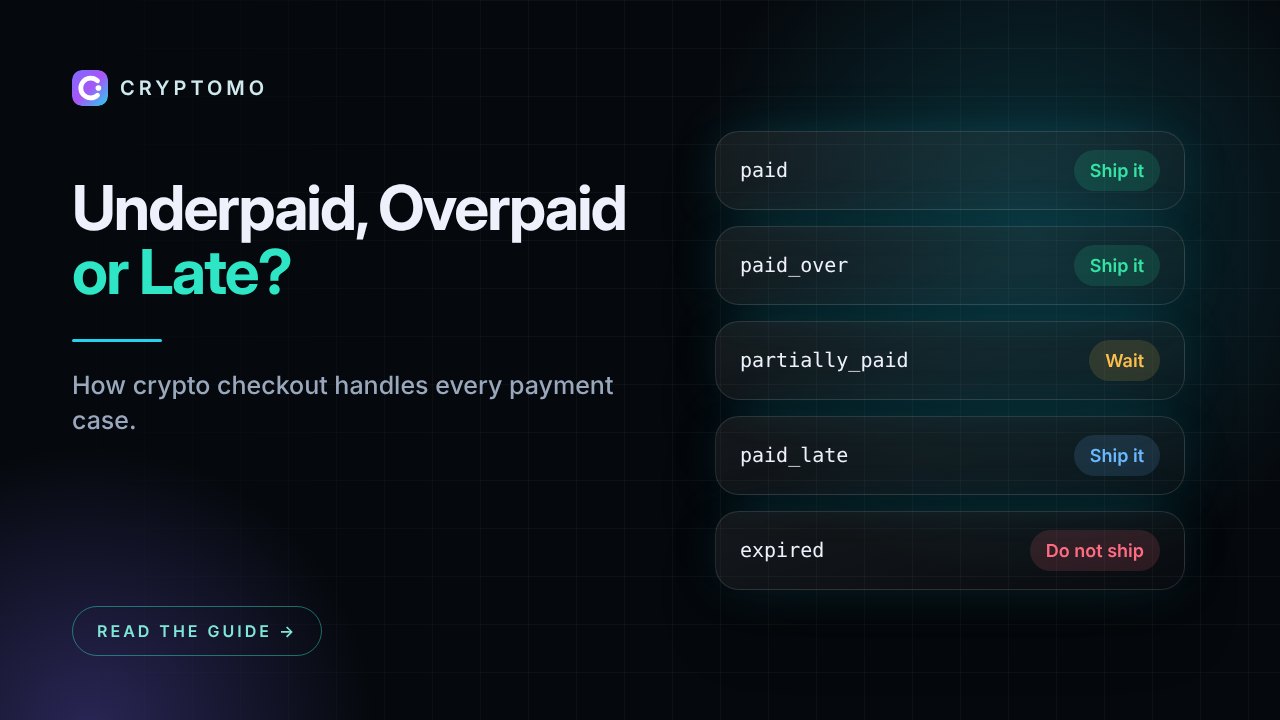
- Underpayments: if a client sends too little, the invoice stays unpaid in WHMCS and the client can send the rest from the same checkout.
- Own wallets: on Pro and Business, payments go straight to your own wallets with 0% fee.
Using Blesta or ClientExec?
We also have ready modules for Blesta and ClientExec. See all integrations.
Prefer not to touch files? Our integration service installs and tests the module for you.